Portal Quick Start Guide
The following steps cover the basics of setup configuration. Refer to the specific documentation or sections related to relevant tasks for further information is required. This is a high-level step by step startup guide.
Supported Browsers for the ActiveEye Application
ActiveEye supports the latest stable desktop / laptop browser versions of Mozilla Firefox and Google Chrome.
Add Service Connectors
Integrate your application and security ecosystem by adding new Service Connectors.
Define Your Connector Credentials
- Select ADMIN->SERVICE CONNECTORS in the left navigation
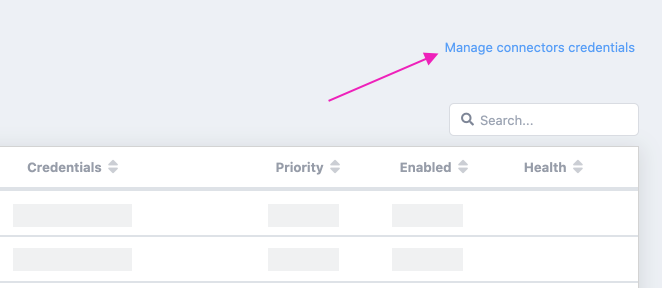
- Click "Manage connectors credentials", top right of the screen
- Click "Add Credential" to add your first crendentials (or you can edit an existing credential)
- Select "Connector Type" from the drop-down
- Provide required information which should be defined on the screen
- Click "Add"

There are a few connector types the do not require connector credentials prior to setup. (AWS, MySQL, etc. list out the products here) For these products you can skip this step.
Select and Setup Your Connector
- Select ADMIN->SERVICE CONNECTORS in the left navigation
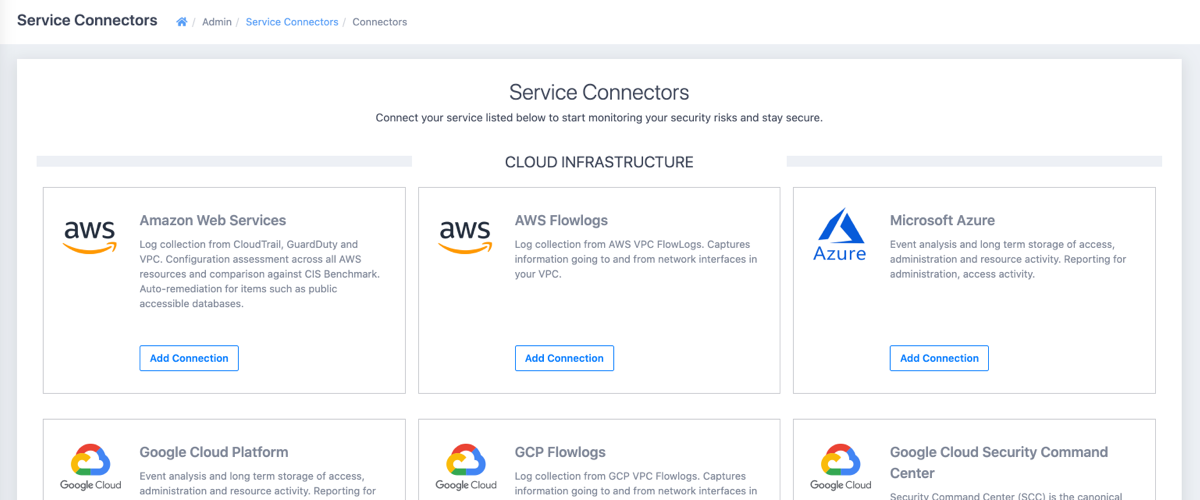
- Click "Add Connector" at the top of the screen
- Click "Add Connection" for the appropriate product
- Provide required information (if Connector Credentials are required and not availble here please return to the previous step)
- Click Add

Configure Policies
Recommended policies will be enabled by default, although some default disabled policies will require configuration before they can be enabled. For example, Country Whitelists for user access monitoring or security group names for Security Group administration monitoring.
- Select POLICIES in the left navigation
- Set "Configurable" filter to "Yes"
- Review these policies and decide which to configure at this time
See the Manage Policies topic for details on configuration.
Configure Automated Actions and Notifications
Configure notifications when new threats in the environments are identified.
Setup Communication Channel
- Select ADMIN->CONTACTS in the left navigation
- Click "Add Contact"
- Select communication channel from drop-down (Email, Slack, etc.)
- Test connection (where applicable)
- Submit
Setup Actions
- Select ADMIN->POLICY ACTION RULES in the left navigation
- Click "Add Policy Action Rules"
- Select "Rule Type" from drop-down
- Select the policy actions to take (communication channels)
- Submit
Set Report Schedules
Reports provide information on activity in the environments during periods of time. Several reports are pre-configured but do not run by default.
- Select REPORTS in the left navigation
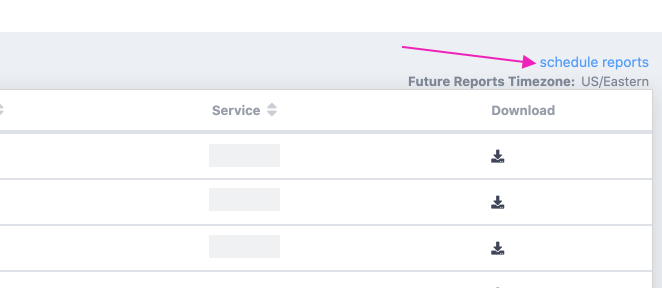
- Click "Schedule Reports"
- Select desired report from options (click the report)
- Configure an activity period (Daily, Weekly, Monthly)
- Add email distribution list(s) to receive the report
- Submit

Providing Application Feedback
The development team would appreciate your feedback. Please use the Help->Feedback link on the top right of the application window to share your thoughts on how the application works or your ideas on how we can make your security process more efficient.