Policies
Policies are used to generate alerts on activity that should be reviewed. By default, most policies are enabled and will begin creating alerts once event data starts to flow from a new source. Some default disabled policies will require configuration before they are enabled (for example, Country Whitelists for user access monitoring, or security group names for Security Group administration monitoring).
Role requirements
All users can view policies.
To enable, disable, and to add actions to policies, you must be assigned the Admin role.
For more information on ActiveEye capabilities and the role(s) required to access them, see the ActiveEye Capabilities by User Role topic.
Viewing policies
- In ActiveEye, in the left pane, click Policies.
The All Policies page appears.

- As needed, refine the list of reports displayed by using the buttons at the top of the page. You can refine the list based on severity, service connector, category, configurability, and frameworks.
- Sort the list of reports by severity, name, provider, or category, or search for a specific policy.
- In the list, select the row for any policy to access its Policy Details page, on which you can view more information about the policy.
Enabling, disabling, and adding actions to policies
- In ActiveEye, in the left pane, click Policies.
The All Policies page appears.

- As needed, refine the list of reports displayed by using the buttons at the top of the page. You can refine the list based on severity, service connector, category, configurability, and frameworks.
- Sort the list of reports by severity, name, provider, or category, or search for a specific policy.
- In the list, select the row for any policy.
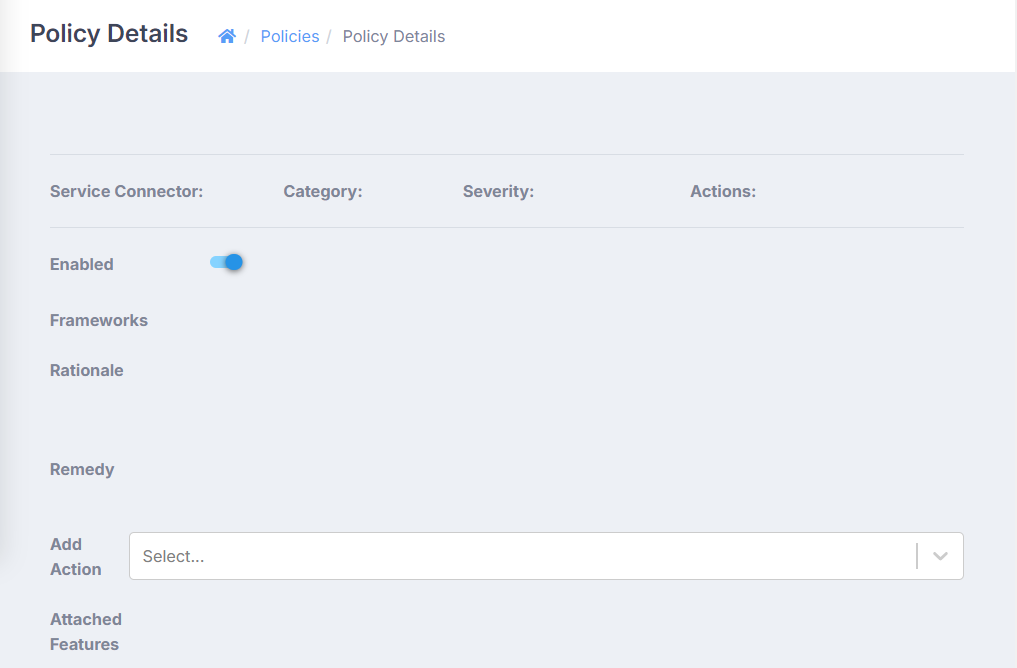
The Policy Details page appears.

- On the Policy Details page, you can perform the following actions. When you take these actions, the changes are saved immediately. No additional action is needed to save these changes.
- Enable or disable policy: Adjust the Enabled toggle to enable or disable the policy. Disabled policies will still appear on the Policies page, displaying
 in their Enabled column. Enabled policies display
  in their Enabled column.
 - Add action to policy: In the Add Action box, select a contact that you want to receive notification when the policy triggers an alert. You can add multiple contacts.
The contacts that you add must be one of the following contact types: email notification, Microsoft Teams notification, PagerDuty Incident, or Slack notification. For information on editing and adding contacts, see the Contacts topic.
To remove a contact from a policy, in the Add Action box, click the X beside the contact name.
- Enable or disable policy: Adjust the Enabled toggle to enable or disable the policy. Disabled policies will still appear on the Policies page, displaying
Enabling customizable policies
Resource Groups need to be attached to policies to take effect. This allows tuning out of alerts for validated false positives.
Before you begin enabling customizable policies, you will need to set up resource groups via the Resource Groups feature. The resource groups must be set up as country lists or IP lists. Once a customizable policy is set up, you can modify its associated resource group at any time to adjust settings.
For information on managing resource groups, see the Resource Groups topic.
- In ActiveEye, in the left pane, click Policies.
The All Policies page appears.

- Click CONFIGURABLE, and then turn on the Yes toggle.
The list of policies refreshes, displaying only configurable policies. - As needed, refine the list of reports displayed by using the buttons at the top of the page. You can refine the list based on severity, service connector, configurability, and frameworks.
- Sort the list of reports by severity, name, provider, or category, or search for a specific policy.
- In the list, select the row for the policy that you want to configure.
The Policy Details page appears. You can take the actions described in step 5 of the Enabling, disabling, and adding actions to policies procedure on all policies, but some configurable policies will display one or both of these additional editable fields: Country Lists and Excluded IPs.

- Depending on the options available, add resource groups to the country list and excluded IPs list. When you take these actions, the changes are saved immediately. No additional action is needed to save changes.
tip
- Countries added to the country list represent the countries from which users are allowed to log in. If a user logs in from a country that is on the country list, the policy will not trigger an alert. In the Country Lists box, you must select resource groups of the type country list.
- IPs added to the excluded IPs list represent IPs that are allowed to log in, even from a country that is not on the country list. If a user logs in from a country that is not on the country list using an IP that is on the excluded IPs list, the policy will not trigger. In the Excluded IPs box, you must select resource groups of the type IP list.
- If a user logs in from a country that is not on the country list using an IP that is not on the excluded IPs list, the policy will trigger.