Contacts
Contacts are used as notification-delivery channels for alerts and reports identified by ActiveEye. Email and phone type contacts can contain multiple email addresses/phone numbers, so they can represent groups of recipients. Contacts can be used with the following ActiveEye features: Report Templates, Policies, Customer Notebook, Daily Email Summary, and Policy Action Rules.
Role requirements
To view, edit, enable, disable, delete, and add contacts, you must be assigned the Admin role.
For more information on ActiveEye capabilities and the role(s) required to access them, see the ActiveEye Capabilities by User Role topic.
Viewing, editing, enabling, disabling, and deleting contacts
- In ActiveEye, in the left pane, click Admin, and then click Contacts.
The Contacts page appears.

- Use the available filters to sort the list of contacts.
- In the list, select the row for a contact to access the Edit Contact page, on which you can see details about the contact. On this page, you can perform the following actions:
- Edit contact: Edit the values in the fields as needed, and then click Submit to save your changes. For information on the different types of contacts, see step 3 of the Adding a new contact procedure.
- Enable or disable contact: Adjust the Enabled toggle to enable or disable the contact. Disabled contacts will still appear on the Contacts page. A disabled contact will still appear in any reports and policies with which it was associated, and can be associated with new reports and policies, but notifications will not be generated for the disabled contact.
- Delete contact: To delete the contact, click the Delete button, and then click Confirm. The deleted contact will no longer appear in any reports and policies with which it was associated.
Adding a new contact
- In ActiveEye, in the left pane, click Admin, and then click Contacts.
The Contacts page appears.

- Click the Add Contact button.
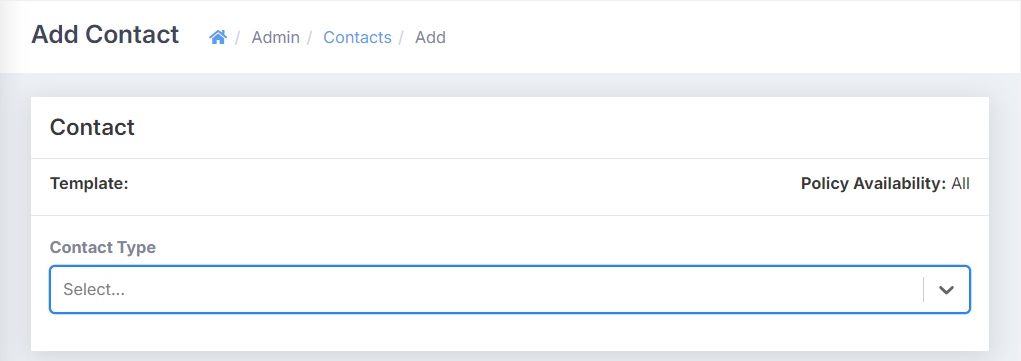
The Add Contact page appears.

- In the Contact Type box, select the type of contact that you want to add, and then, in the fields that appear, enter values as needed. In the Name box, enter a descriptive name, and, optionally, in the Short Description box, enter the title of the individual or description of the distribution group. See the following for details on each type of contact.
- Email notification: Used to send a notification with the related event details via email to a defined list of addresses. In the Email Recipients box, you can select a previously used email recipient from the drop-down list, or you can enter an email address and then press Tab to create an email address record. You can add multiple email addresses to a single email notification contact. To remove an email address, in the Email Recipients box, select the X beside the email address.
- Microsoft Teams notification: Used to send a notification with the related event details to a Microsoft Teams channel. Setting up this type of contact requires a Microsoft Teams Webhook URL. For information on obtaining the Webhook URL, follow this Microsoft procedure: Create Incoming Webhooks. After you have entered the Webhook URL, you can click the Test URL button to verify it.
- Mobile Phone notification: Used to send a notification with related event details by a mobile phone call. This type of contact cannot be attached to a policy. When entering a phone number, you can use the
 button to select the appropriate country code.
 - PagerDuty Incident: Use a PagerDuty Integration Key to set up a contact that will create an incident using the PagerDuty platform. For information on setting up this integration, see this PagerDuty documentation: PagerDuty Agent Integration Guide.
- Phone notification: Used to send a notification with related event details by a phone call. This type of contact cannot be attached to a policy. When entering a phone number, you can use the
 button to select the appropriate country code.
 - Slack notification: Used to send a notification with the related event details to a Slack channel. Setting up this type of contact requires a Slack Webhook URL. For information on obtaining the Webhook URL, follow this Slack procedure: Sending messages using incoming webhooks. After you have entered the Webhook URL, you can click the Test URL button to verify it.
- SMS notification: Used to send a notification with related event details in a text message. This type of contact cannot be attached to a policy. When entering a phone number, you can use the
 button to select the appropriate country code.
- Select Submit.
The new contact is added.